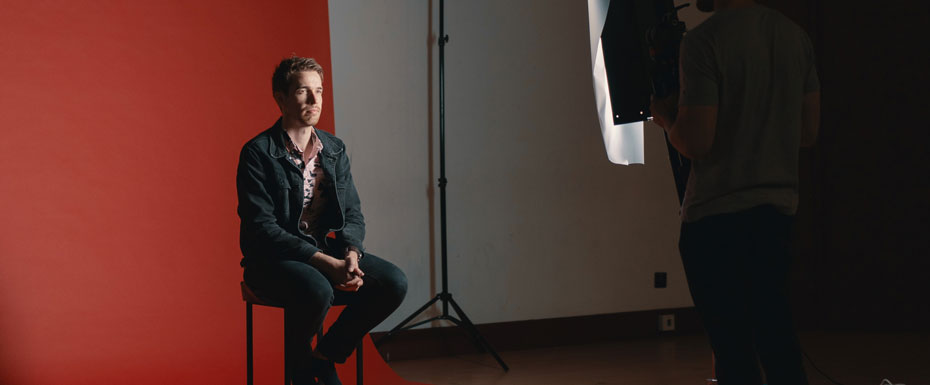
Every beginner photographer who doesn’t have a lot of experience in the photo industry gets confused when dealing with studio photography. This process seems extremely challenging and time-consuming to newbies, requiring top-notch skills. And they are right: it can take a day or two to make a shot that will be honored on a magazine cover or a prominent billboard because even pros don’t always cope with the studio tasks from the first try. Nevertheless, a photo set in the studio can be a great discovery for you: a more engaging, comprehensive, and multifaceted activity compared to shooting in the natural environment.
The Benefits of a Studio Photo Shoot
A photo studio is a room that can be both with and without windows – such places offer the optimal and most comfortable conditions for taking any kind of photos, which requires professional lighting and other photography accessories. In photo studios, the walls are usually painted in a single color (most often white or gray), and a huge variety of backgrounds is used as a tool. Also, there are so-called interior studios, which are furnished and decorated following a particular concept: an apartment in the loft style or, for instance, something fabulous with elements of fantasy. Space may consist of a one-style room, as well as several themed zones or even entire halls. With a photo studio, you can bring your photoshoot almost anywhere!
The main reason why millions of professional photographers rent studios is the opportunity to work in such conditions where every detail will be impeccably thought out and correspond to all the features of the upcoming shoot. In such conditions, you won’t get an unexpected result, but only pre-planned shots.
Thanks to the main trump card of the studio – customizable lighting, you will never depend on time or weather conditions. The nature of the lighting can be selected freely, just by mastering working with lighting equipment. All these devices—studio light sources, reflectors, light-forming nozzles, and filters—will allow you to demonstrate your imagination and creativity at maximum.
How to Choose a Photography Studio?
The first and most unexpected piece of advice is to make sure it has a cyclorama wall. It’s a relatively rigid background with the feature of having no clear border between the wall and the floor: the smooth transition of the material will create the illusion of an infinite background in the photo, as well as add a soft gradient. Cyclorama walls can be any color and can serve as a pretty good reflector, adding softness to the light. The images for catalogs usually are shot with cycloramas.
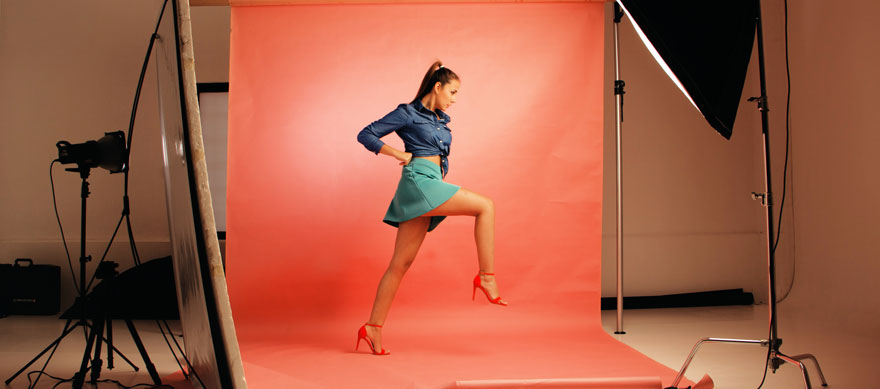
Other important criteria in choosing a studio will be the size of the room itself, including the height of the ceiling. Preferably, don’t consider a space of less than 30 square meters if your goal is to shoot portraits or small-sized objects. Remember a simple rule: the bigger the object is, the more spacious the studio should be. If you’re photographing a group of people or one person in full-length photography, it’s worth bearing in mind that the distance from the photographer to the object should be at least five meters, and the ceiling should be at least four meters high. Remember that large spaces open up much more opportunities for creative expression.
Setting Up Your Camera and Gear for Studio Photography
The peculiarities of shooting in the studio imply the photographer’s complete control over all equipment: here, we don’t rush but take our time to bring all the settings to an ideal balance.
When shooting in the studio, it’s important to understand that you always shoot in manual mode, where each parameter is set separately. The shutter speed, ISO, and aperture settings are important for any photo shooting session, and no matter if you are a beginner or not, this is the only way to be satisfied with your results. Sometimes photographers might use the auto mode, but only if they apply steady light.
The studio is arranged in such a way that all lighting sources are placed separately from the camera. A popular question among people who have not dealt with studio photography is: “How do the camera and the light connect?” It’s simple with a permanent light: it just shines, and understanding how the shadows will be distributed is accessible to everyone. However, if we’re talking about flashes or pulsed lighting, then the job is more complicated: you have to make sure that the flashes are triggered together with the camera that recognizes the light from the flashes. Also, with the advent of automatic synchronizers, you can connect a flash to the camera so that they will work in sync.
Light Modifiers
There are basic characteristics of light for the studio that any beginner photographer knows about: type (permanent or pulsed), shade (warm or cool), and capacity. But equally important are studio lighting parameters such as focus, softness, and shape.
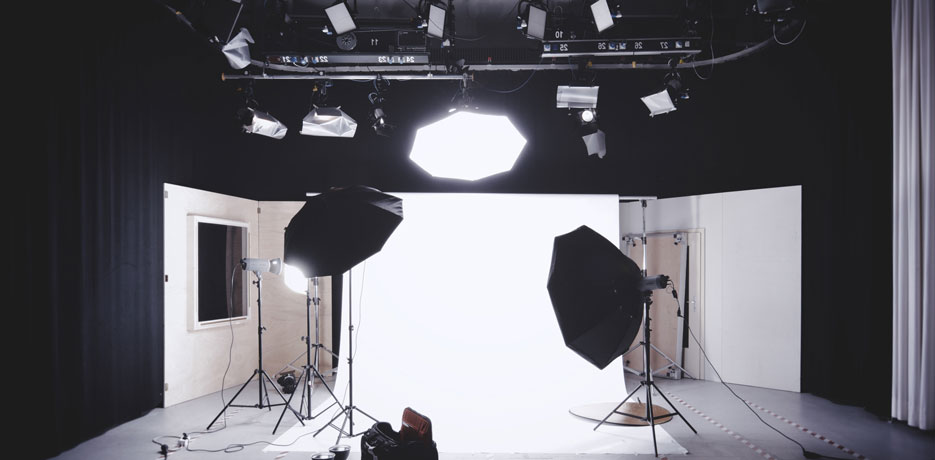
If the first group of functions depends on the type of lighting fixture in front of us, the following parameters depend on the so-called light modifiers – nozzles used to supply the light source. These can be umbrellas, reflectors, curtains, honeycomb grids, softboxes, filters, and much more. Their job is to transform light.
The flash looks like a ring or horseshoe-shaped lamp that shines brightly but extremely fast. Such a lamp without additional attachments will shine too straight and sharp, making the shadows harsh without blurred borders. In order to make the shadows softer, it’s necessary to create an imitation of natural light from a window – this is done with the help of a modifier called “softbox.” This nozzle provides that all the light from the flash will be collected on the sidewalls and then sent to the screen – this creates a new light source in the form of a glowing softbox screen that will soften the light. The honeycombs, for their part, will help make the light stream more directional.
As you may have gathered, the light modifications are an important part of studio work that will bring variety to your shots. In any case, there is simply no magic photo accessory that will do all of a photographer’s job for them. You will have to experiment and learn from your mistakes, and this is the only way you can succeed in this art!